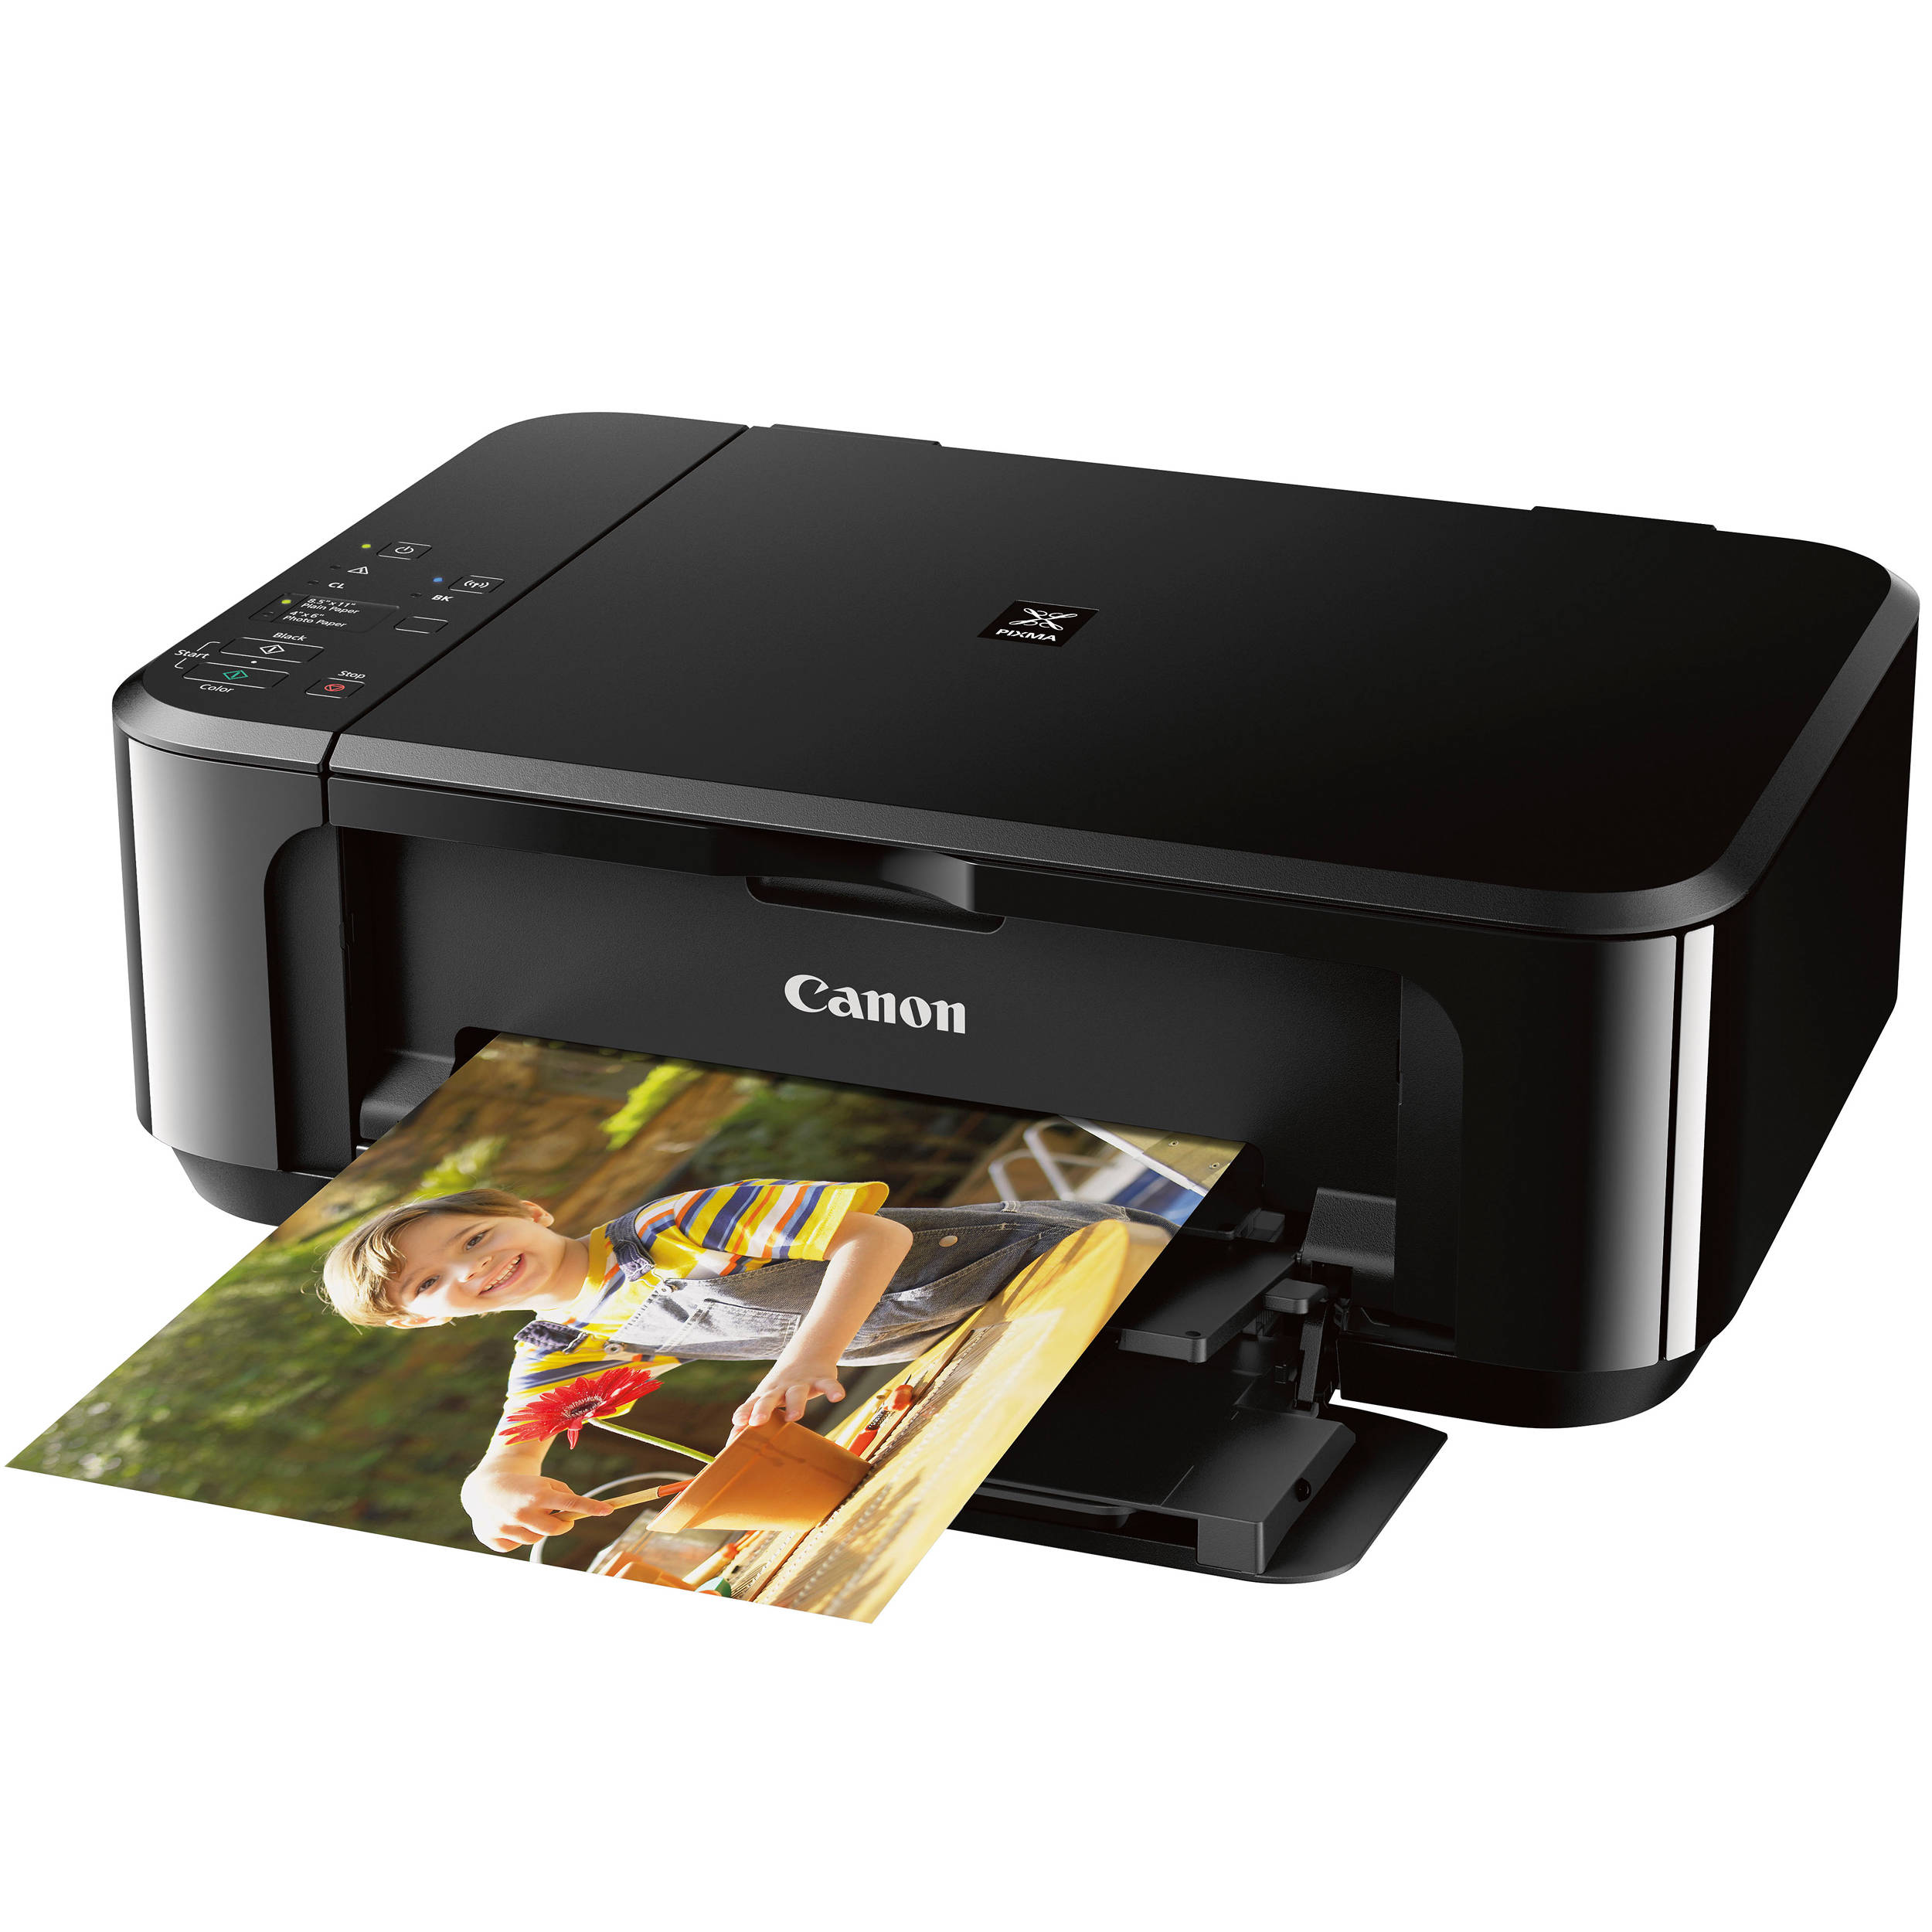
As technology advances, wireless printing has become a popular choice for many individuals and businesses. Canon printers are known for their high-quality prints and user-friendly features, but connecting them to WiFi can be a daunting task for some. In this article, we will provide you with a step-by-step guide on how to connect your Canon printer to WiFi.
Step 1: Check Your Printer's Compatibility
Before attempting to connect your Canon printer to WiFi, it is important to ensure that your printer is compatible with wireless printing. Most modern Canon printers are equipped with WiFi capabilities, but older models may not have this feature. Check your printer's manual or visit the Canon website to confirm its compatibility.
Step 2: Connect Your Printer to Power
Connect your Canon printer to a power source and turn it on. Make sure that the printer is in range of your WiFi network.
Step 3: Access Your Printer's Settings
Access your printer's settings by pressing the "Menu" button on the printer's control panel. Use the arrow keys to navigate to the "Network" or "Wireless" option and select it.
Step 4: Connect Your Printer to WiFi
Select the "Wireless LAN Setup" option and choose "Yes" when prompted to enable WiFi. Your printer will then search for available WiFi networks. Select your WiFi network from the list of available networks and enter your network password when prompted. Your printer will then connect to your WiFi network.
Step 5: Test Your Printer
Once your printer is connected to WiFi, it is important to test it to ensure that it is working properly. Print a test page or document to confirm that your printer is connected to WiFi and ready to use.
In conclusion, connecting your Canon printer to WiFi is a simple process that can be done in just a few steps. By following the steps outlined in this article, you can enjoy the convenience of wireless printing and take advantage of your Canon printer's many features. Happy printing!

